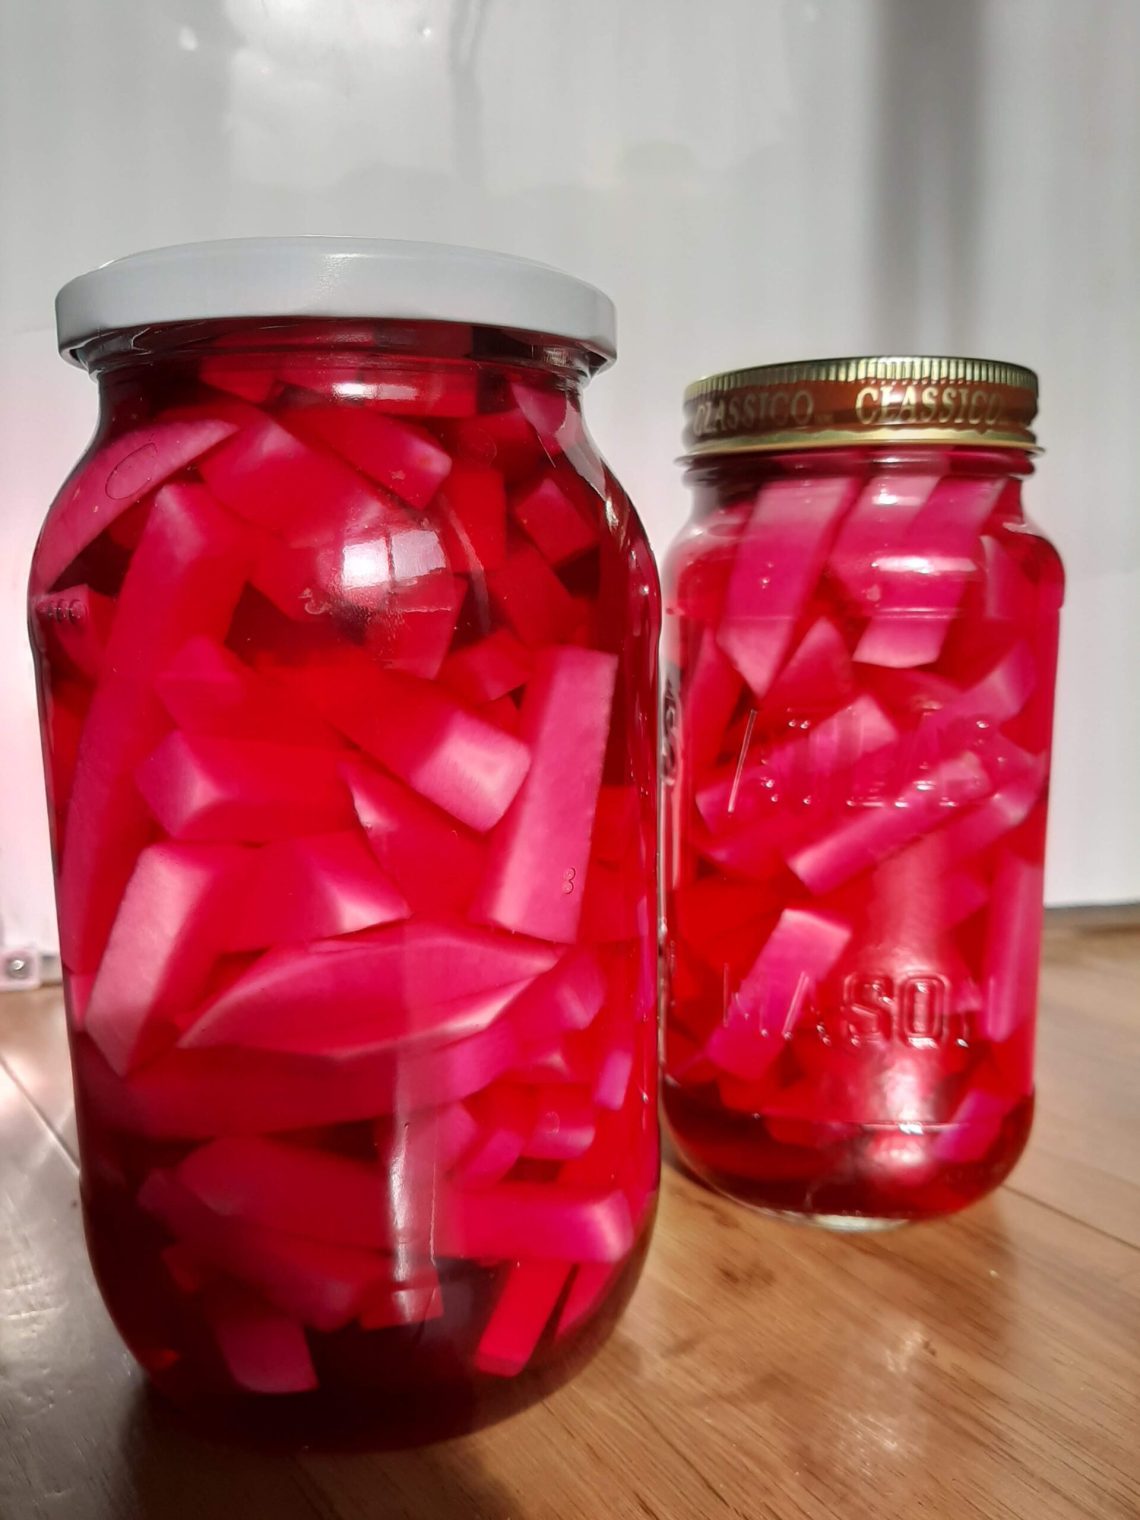
Pickled Turnips
When it comes to pickles, cucumbers usually steal the spotlight. But many people overlook a lesser-known pickle– pickled turnips! These vibrant and tangy pink pickled turnips are synonymous and a staple in Middle Eastern and Mediterranean cuisine. Did you know that the pink color comes from the beetroots used in the pickling process and not from any food coloring!

They are super addictive and as a kid, I used to pull them out from my shawarmas and eat them separately. They can be expensive in many places and are usually available in Middle Eastern stores only. However, you can easily make them at home without breaking your budget. Plus, they have a long shelf life.

How to Store Pickled Turnips?
They are initially kept at room temperature for at least 24 hours just to start the pickling process and then move them to the fridge. They will be ready to consume after 4-5 days. Always keep them refrigerated or they can turn bad quickly.
How do you know if they have turned bad?
- The turnips smell acidic or develop a mold.
- The brine becomes cloudy.
Immediately discard because it is no longer safe to eat.
Serving Suggestions
As a side dish or condiment alongside falafel, shawarma, or kebabs.
Include them in sandwiches or wraps for an added crunch and tangy kick.
Chop and add to salads for a unique twist.
Give them a try, and I guarantee that you’ll be hooked!
Pink Pickled Turnips
Equipment
- Clean jars
Ingredients
- 3-5 large turnips
- 1/2 small beetroot
- 2-3 small bay leaves
- 1/4 cup kosher salt
- 1 cup vinegar
- 2 cups water
- 2 cloves garlic (optional)
Instructions
- Prepare the water first.
- In a saucepan over medium-high heat, add water and bring it to a boil. Add Kosher salt and stir until fully combined. Let it boil for 1-2 minutes more.
- Remove from heat and then add vinegar and leave it to cool.
- Meanwhile, peel the turnips and slice them turnips into sticks (like fries).
- Slice the beetroots into thin circles.
- Prepare your jars. You may use one large or multiple small ones.
- In each jar, add one bay leaf and garlic cloves (if using) and then start TIGHTLY packing them with turnips.
- Also, add ONLY a maximum of 3 slices of beetroots per jar.
- Pour the cooled vinegar mixture into the jar making sure that the turnips are fully submerged.
- Tightly close the jar and leave it at room temperature for 24 hours before placing them in the fridge. Once or twice, give the bottles a shake to evenly disperse the colors of the beets.
- They will be ready to eat after 4-5 days.
- They keep well in the fridge for 1 month.
Notes
- Make sure the jars are clean.
- Do not add too many beetroots per jar – 2-3 slices are enough. The “pink” color is due to the beetroots. It’s just for color, not taste. With passage of time the color deepens.
- Do not eat the beets. The beets in the jar develop a rubbery and chewy texture.
- Use a CLEAN fork/spoon when pulling out the turnips to eat.
- Do not leave the jars out for more than 24 hours.
- Instead of kosher salt, normal salt can be used, but the quantity used will be slightly less than ¼ cup since normal salt is much finer than Kosher salt.
- Garlic cloves (1 per jar) can also be added to enhance the flavor.

Semolina Bites


